
 Texture. I love texture. I covered the entire front and sides in a coat of modeling paste. I tapped my finger up and down all over to create the texture. I let dry overnight. You certainly don't need to let it set that long, but I usually don't have much time to craft so sometimes I try to fit the little steps in on a weeknight so I feel like I have accomplished something.
 TIP - for the next step (Read the directions first before using something you haven't done before - LOL) I have used the modern masters iron paint and rust activator many times so I thought that the copper and patina would be the same (NOPE - lol). I have a separate tutorial listed under another post.
Paint with one coat of copper. Let dry, then paint second coat. While wet, add patina. The amount of patina you add will be based on how much of your piece you want to have the patina effect. The copper paint will eventually patina over time, the patina coat just speeds up the process.
I stamped with a black script stamp all over to give another layer of visual interest. I used a brown ink bad to edge the piece and hit some of the high points.
 All of that part came easy. The part I got stuck on was finishing the piece. I went through about 5 or more sets of letters before deciding on these. I love how they came out. Simple too. Chipboard letters. Inked brown. Embossed over the top with TH Vintage Photo distress embossing powder. Added a little copper and patina gilders paste as highlights. I layered them onto my mats. The mats are black cardstock, scrap paper I had distressed, inked and sprayed, and sprayed burlap. I finished them up by making copper coils that I beaded and taking a cutesy button paperclip and inking the heck out of it.
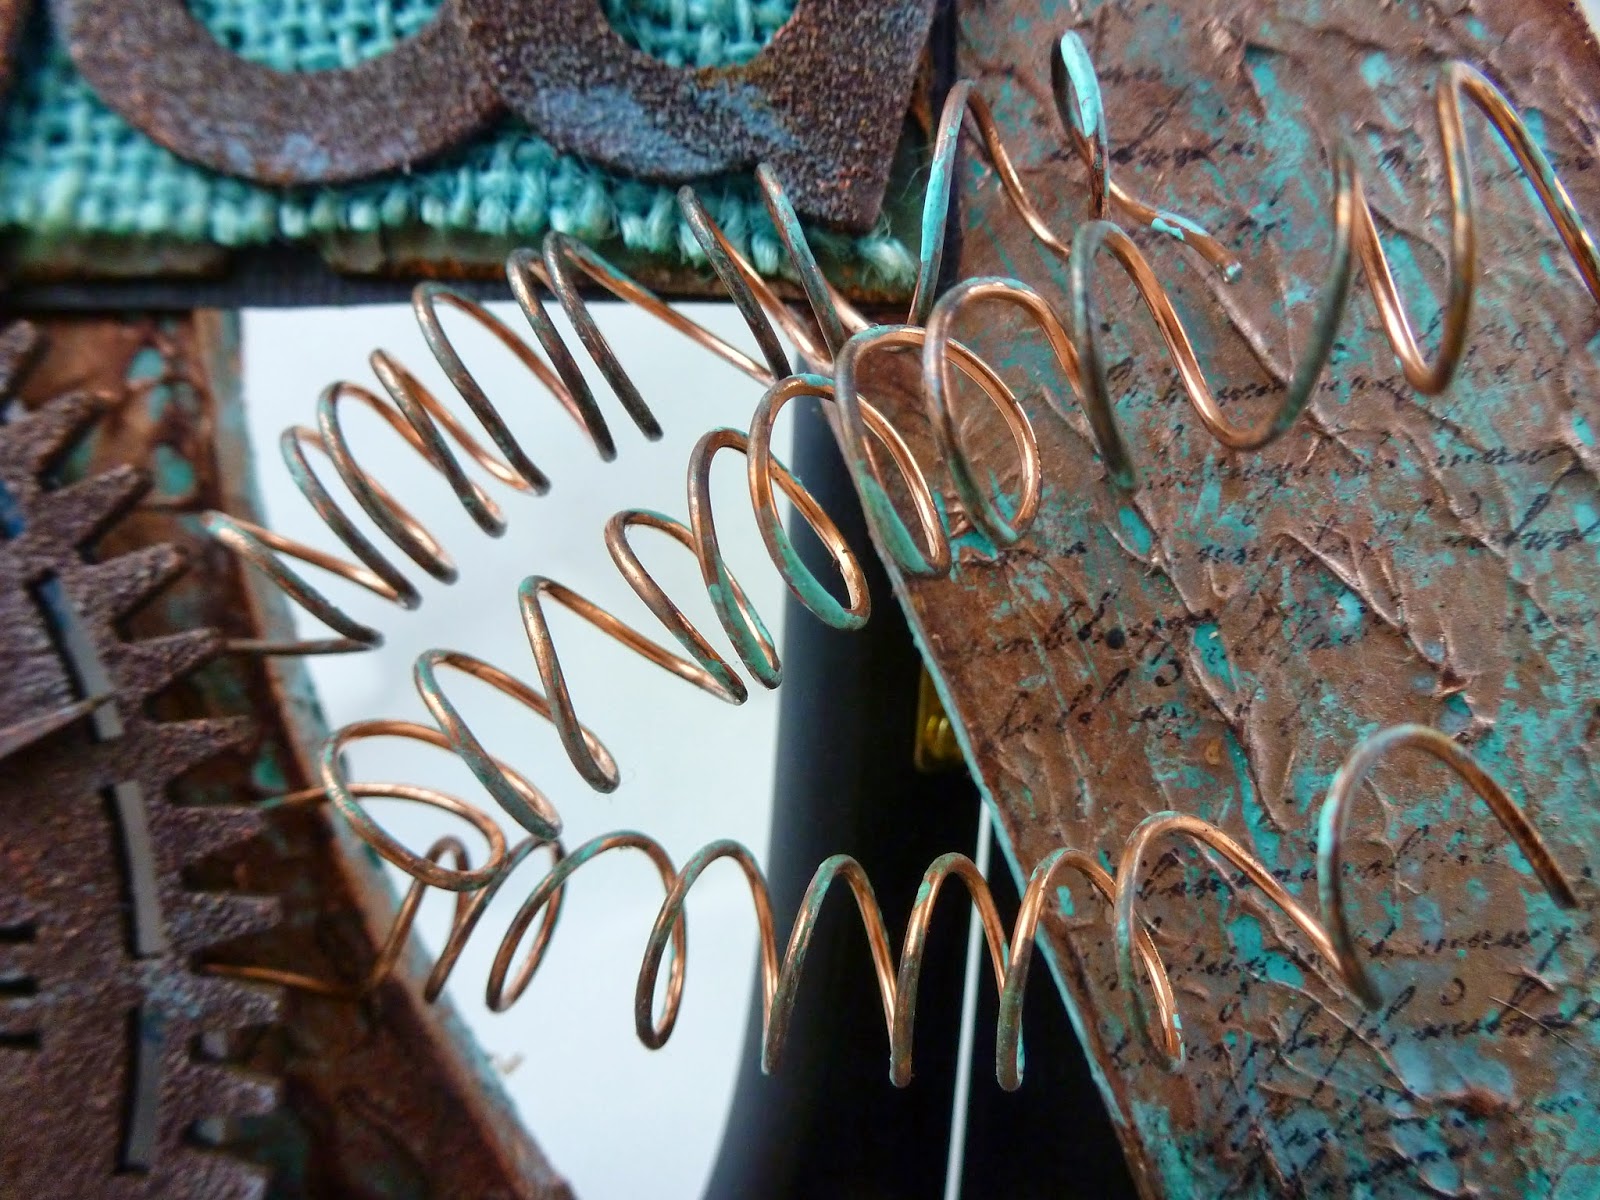
The clock was super fun. I used a chip board clock and did the same treatments as the letters. I backed it though with piece of paper that I sprayed with Lindy's Tibetan poppy teal. The coils are out of 16 gage wire that I wrapped around a paint brush handle then just added a little gilders paste to add a little patina. I will add the picture as soon as I pick the one I want to display.
Wow! Turned out great.
ReplyDelete